

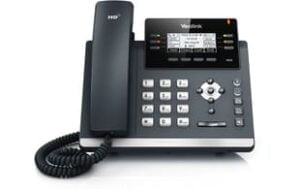
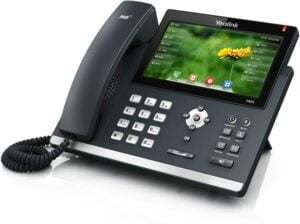
Setting up the auto provision your Yealink device (this guide covers Yealink T42, Yealink T46 and Yealink T48 devices) is simple, all you have to do is follow our simple guide below.
This process should also work on devices such as the Yealink T23, T40, T41, as well as the Yealink W52P and W56P.
The process:
- Once your Yealink device is turned on and connected to the internet, press the ‘OK’ button and take note of the IPv4 address, usually begins with 192.168.x.x
- Open up a browser such as Chrome on a computer or laptop and enter the IP address at the top of the browser and press enter. You should then be taken to a login screen, the default username is ‘admin’ and the default password is ‘admin’.
- Then click settings -> Auto Provision. On this screen you will be prompted for a server URL and dependent on your device a username and password.
If you are using Globe2’s Phone System, please enter the following in the server URL: https://dm.yourwhc.co.uk/dms/phone - Please enter the relevant details given to you by your supplier and click autoprovision now. Your phone should now reboot with and configure itself.
Want to see more Yealink guides?
Click here to see all our Yealink guides!

Need support or further assistance?
Get in touch today via phone or email